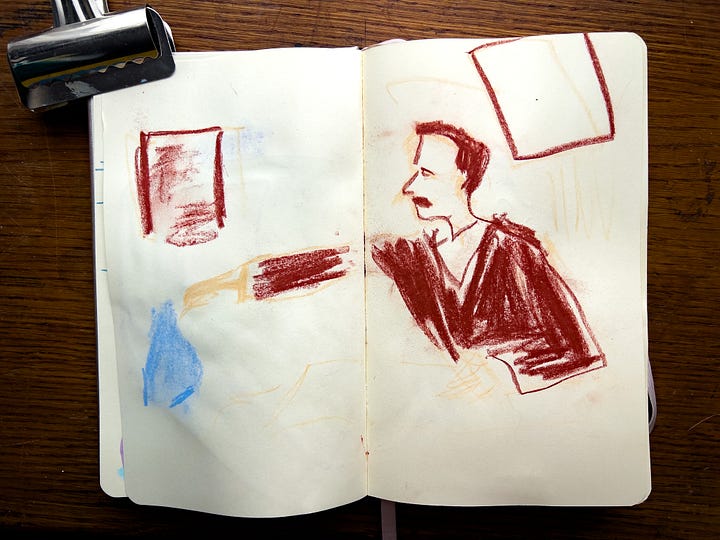
Why draw with your non-dominant hand?
These exercises help reclaim the childlike wonder that the grown-up world takes from us.
First, here are a few things NOT to try with your non-dominant hand
Performing major surgery
Applying mascara
Whisking eggs


Fun things to try with your non-dominant hand:
Focus on drawing only the SHAPES of your subject.
Sketch in a light color. You can draw or paint over it later with something else!
Draw for 5 minutes with your non-dominant hand. Repeat with the dominant one.
Start with your non-dominant hand, and finish with your dominant.
The goal is to:
Practice acceptance of whatever happens on the page.
Step outside your comfort zone.
Access parts of your brain that may not normally switch on while drawing.
“If you don’t like it, that means you’re learning.”
I don’t know who said this, but they have a valid point. We need to get uncomfortable at times to grow. Using your non-dominant hand is a way to practice that.
I hope you have fun making non-dominant hand drawings! I’m excited to draw with you soon!
In the video
We start with some quick exercises from Recovery of Your Inner Child, a somewhat dated self-help book from the 90s. Then, I share my process of taking a left-handed sketch to final art for a portfolio piece.


